The little girl's bedroom I showed you
yesterday was the client's previous guest room. They wanted to make it a fun and cute room for their 6-year-old daughter but couldn't spend a lot of money. When I start a new project like this I work in stages ... I thought you might like to see how I do that.
Step One: Space Planning
The room is small and had a large (queen) bed and a large dresser both of which had to stay. I tried to come up with other furniture arrangements and none would work. In a "perfect world" there are three main things wrong with this arrangement. The first is that it is too crowded, the second is I do not like having furniture (the headboard) in front of a window and third, I would have the bed centered with the window. But design (as is life!!!) is a compromise and so the best I could do was move the bed even closer to the wall to give as much room as possible between the bed and the dresser.
BEDROOM BEFORE
Step Two: Inspiration
When I talked to the little girl whose room this was to be, she told me that her favorite colors were turquoise and green and that she loved owls. And all animals!
I started with the bedding. When I am working with a client on a tight budget I have to be mindful of not just the cost of the products I select, but also of my time. Sometimes searching for the best deals can cost more money in my time than what we save on the product itself so I have to weigh that when I am working. It is always a balance. My first search was a trip to HomeGoods to see if I could find any good deals. I selected a few bedding ideas and sent photos to the client for her approval.
First trip to HomeGoods
Some of the ideas they liked (the owl bookends, the pillows) but the bedding missed the mark - it was too muted - so my next step was to do an online search for ready-made bedding that would work with the inexpensive pillows I had found. I emailed the client a few ideas and they selected the one they liked the best. This is the one they chose:
Step Three: Pulling everything together
With the color scheme and bedding selected, I could move on to the room itself. One of the best and most inexpensive ways to make an impact in a room is with paint. The walls were cut in half with a chair rail and the top was painted white and the lower half a more creamy white.
Since there wasn't enough room in the budget to paint the entire room, we settled with stripes on the lower half. The 12" stripes were painted in Bermuda Turquoise (Benjamin Moore 728) and alternating white. When you are painting stripes with a high contrast as these you want to make sure your stripes are fairly wide or it will end up looking "circus-like".
Client's photo - (the moldings will be painted to match the stripes)
One of my favorite "big bang for your buck" wall art solutions is to use 20" Ikea
Ribba frames. Grouped together they make a nice impact and the idea for this room was to have the client use enlarged photos of her daughter - preferably in black & white - to personalize the room. But I didn't want to leave the frames empty not knowing how long it would take for that to get done and I also wanted the little girl to walk in and see "something" in the frames. At first I was going to put in scrapbook paper as a quick "place holder" but then I remembered I had this:
The book is filled with adorable photographs of animals - just perfect for what I needed.
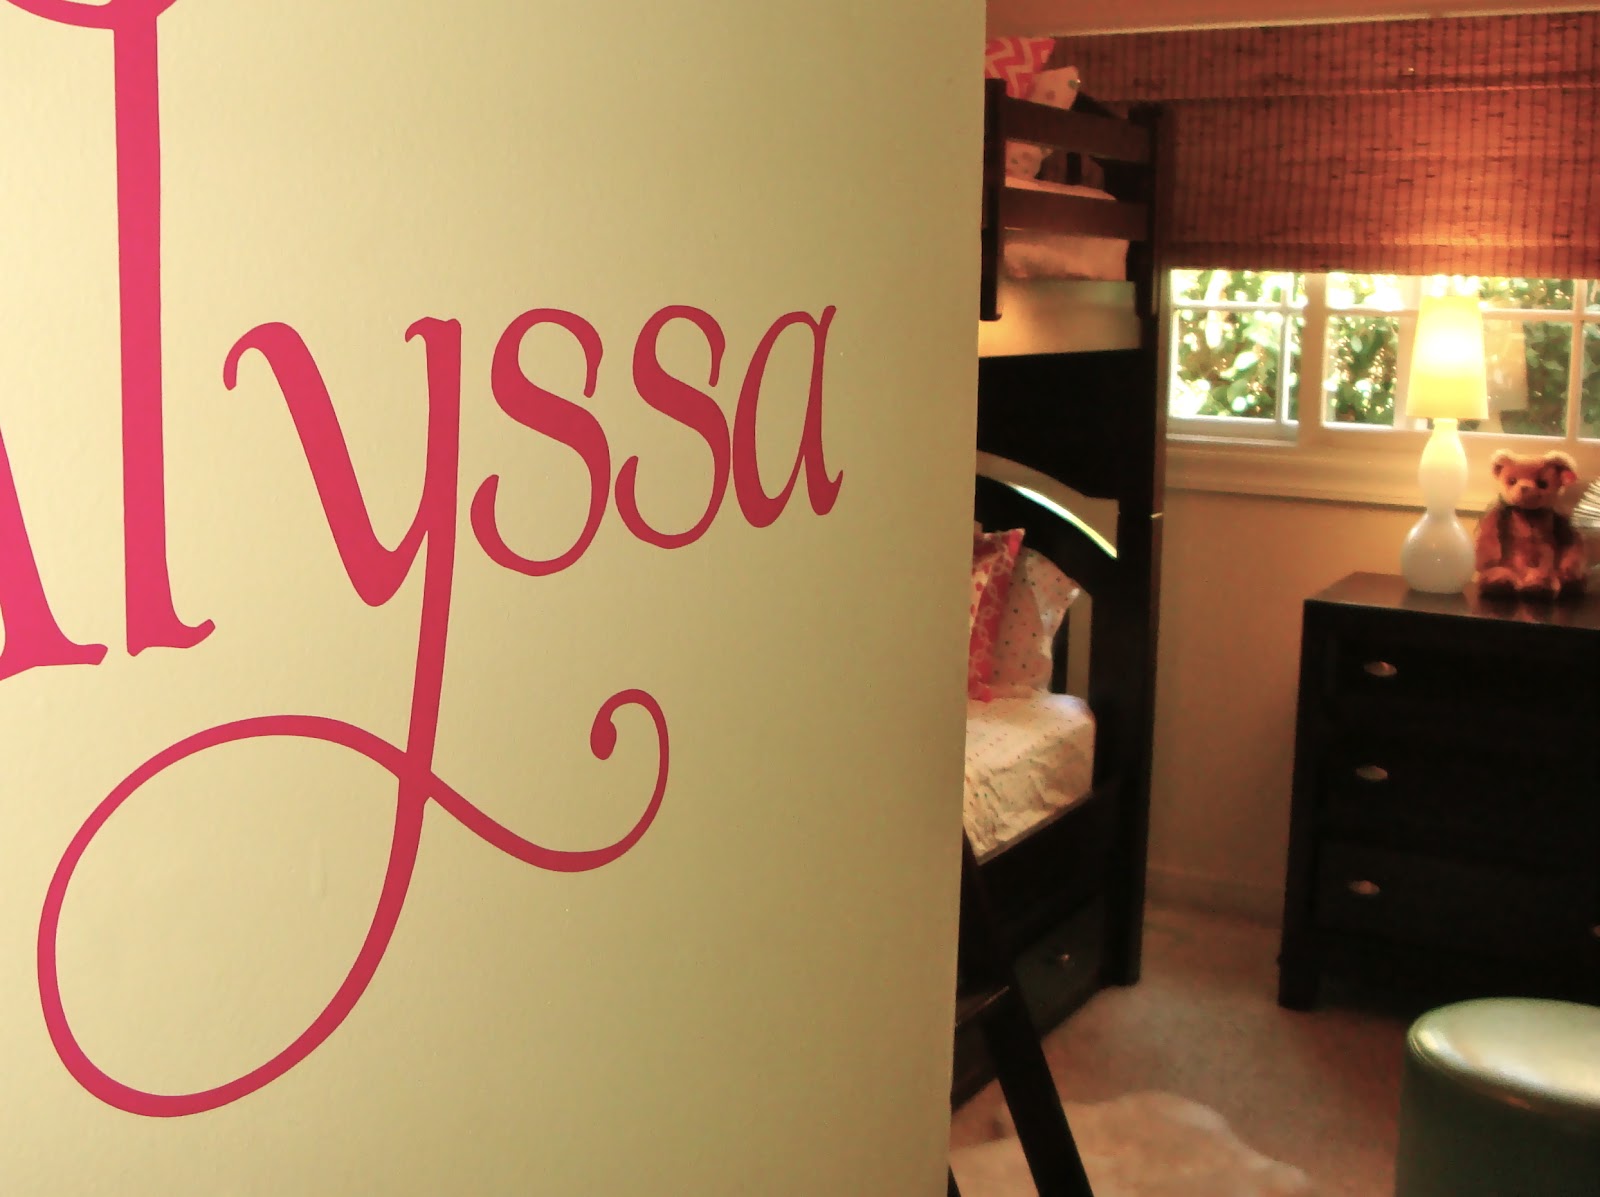
Once the bedding and the paint was selected I just needed to add a few more accessories and address some storage issues (shelving, toy storage). A couple of Ikea shelves and a few more accessories (another trip to HomeGoods and Target) was all that was needed to complete this room. We added some cute decals to personalize the room and now we were ready to put it all together. At this point I had only met with the client twice - the first time was to meet to see the scope of the job, take photos and measure, and the second was to fine tune and select the paint color. The rest of our communication was done via email.
Personalized wall decals via
Etsy
Step Four: Installation
This is always the most exciting and also most time consuming part of the project. Sometimes I work alone and other times it is necessary to bring in someone to help me. My "assistant" of choice is my sister who is an invaluable asset; she is always one step ahead of me and is a wonderful handyman. It also helps to have another person to help hold up artwork to determine exactly where to hang it and to cut my work time down.
This first room came out great. But we were not able to hang the shelves as we did not have the proper hardware and since this was a "finish in one day" project we could only mark where they would go. The client will hang them later. I selected
white Ikea shelves to go over the dresser.
Besides making the two little girl's rooms "cute", the client wanted the rooms organized. She wanted it to look less cluttered and needed help finding "homes" for all the things that little girl's collect. This room did not require much as it was a clean slate to start with. But the other little girl's room was a different story. As with the first room, it is a small room with a lot of furniture and more things in it that seemed to fit.
THE SECOND ROOM:
ROOM BEFORE
As with the first room, I started with the color scheme. Turquoise was this little girl's first choice as well but since her mom did not want both rooms looking similar I needed to add in other colors as well. This time I started with curtains.
The room did not require any painting (we decided to save money and keep the existing yellow walls) but the closet needed a lot of work. The large mirrored doors were too heavy for the little girl to open and close herself and the mirror was cracked. I had the doors removed and replaced them with curtains to add some fresh color to this very dark room and also give the little girl easy access to her closet.
The bedding we decided on was this:
The closet re-organization:
CLOSET BEFORE
The first thing I did after removing everything from the closet, was move the hanging rod down to the little girl's level so she could access her clothes better and move the shelves up for her shoes. I also added some inexpensive plastic drawers that I found at Target to house her socks, underwear, belts, scarves, swimsuits, hair bows, etc. (The plastic shelves go up twice as high as you see in the photo).


We added the rod and hung the curtains. I used four panels hooking two together at the top using the clip rings. I adjusted the height of the curtains by folding over the top edge to make them just a bit longer than the floor so that they would slightly "puddle" which keeps the two panels together rather than having them separate at the bottom. (We had to hang the rod lower than the 84" curtains because of the air vent). I also hung the curtains upside down and used the rod pocket as the hem as it was a nicer hem than the true hem which was only a half inch - I liked the larger hem; the pattern went either way. After the shelves were in place and the curtains hung, I put back all of her clothing.


With just a few adjustments to the closet I was able to fit not just what was in the closet before, but was also able to make two empty drawers in the long dresser for her to keep all the little things that girls collect and created a place for the bags and things that she had hanging on the posts of her bed to give her a less cluttered space.
BEFORE
AFTER
Unfortunately I did not remember to take final photographs of the closet and in fact, my finished photographs of this room are limited. Re-doing the closet was time-consuming and towards the end I was rushed for time. The duvet covers are back ordered as well so the beds have inexpensive white matelasse covers on them until the new covers arrive.
All in all it was a very successful "one day" makeover for these two little girls ... I wonder if they will be able to keep their rooms as neat as they were yesterday!